There are some processes and methods that are surrounded by a certain amount of mystery and therefore discourage some people from getting started. Sourdough is one of them.
But it's actually easy and simple, and the results are fantastic. Personally, I've never baked a bread that I think is better than the sourdough bread I'm going to show you here.
I started learning about sourdough during the lockdown during the coronavirus pandemic in March-April 2020. I was searching on Youtube for a method and came across the Youtube channel Bake With Jack. Jack Sturgess explained things so concisely and clearly that it was his method that I chose to follow. Therefore: I'm not the expert here, Jack is. And I'm basically just passing on what I've picked up from him.
In the procedure below, I write "stretch and fold" the dough several times. It's super easy to do, but it's one of those things that is much easier to show than to explain. That's why I've also made a YouTube-videowhich I think you should have a look at. It will make it clear to you what is meant. You can watch the video further down the page.
Many home bakers are happy to find exclusive flours with fancy names and both pedigree and birth certificate. It's great for them to be able to add an extra layer to their baking. But it doesn't really interest me, and besides, it hasn't caught on here in the Czech Republic, so I would have a hard time getting the special stuff.
I choose the cheap wheat flour from my local supermarket, provided it contains at least 12% protein. In terms of flavour, I prefer to use, for example, a proportion of wholemeal wheat flour (as in the one below), and rye sourdough has a good aroma. If I want a high protein content, I add protein/gluten, which can be bought for little money. Call me cheap!
Baking bread with sourdough doesn't have to be difficult or mysterious - and the results are amazing!
Ingredients:
day 1:
30-50 grams sourdough starter (see my instruction here: SOURDOUGH STARTER)
65 g vand
65 grams of back milk
Day 2:
100 grams of fed sourdough starter (above)
315 g vand
100 grams of wholemeal wheat flour
350 grams of wheat flour (minimum 12% protein content) - You can also choose to add a little extra wheat protein/gluten and possibly baking enzyme. In this recipe, I recommend the following (which gives a protein content of approx. 14%): 330 g wheat flour (12%) + 10 g gluten + 10 g baking enzyme, and of course an unchanged amount of wholemeal wheat flour.
8 grams of salt
Method
Day 1:
The night before you want to bake, take your sourdough starter out of the fridge and add 65 grams of water and 65 grams of rye flour. Even though you're only supposed to use 100 grams, there may be some left on your utensils and in the jar, and you'll need a little for next time. So to be on the safe side, I make a little more than I need.
Day 2:
Pour 100 grams of fed sourdough starter into a bowl. I put the rest of the starter in a clean jam jar, write the date on the lid and place in the fridge.
Add 315 grams of water and stir.
Weigh the flour and salt, pour it into the bowl and stir until mixed. You don't need to knead, just mix. I use the handle of a ladle. to stir with. Spray a little water on the surface, cover the bowl with a cloth and leave it for 30 minutes.

First stretch-and-fold:
It's handy to have a bowl of water on the table to moisten your spatula and fingers.
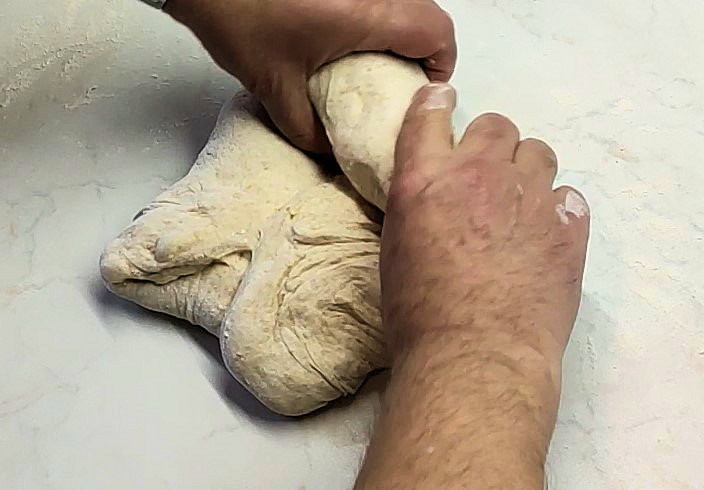
Spray some water on the table, scrape the dough out of the bowl in a way that the surface of the dough will lie face down on the table. Moisten your hands. Grab a corner of the dough, stretch it out so you feel resistance and then fold it over the centre. Turn the dough a quarter turn, grab it again, stretch and fold. Keep doing this all the way round, preferably with 5-6 six stretches, or until the dough feels tight. Place the dough back in the bowl with the original surface facing up, spray with a little water, cover with a cloth and wait two hours.

Second stretch-and-fold:
Basically, you just need to repeat what you did in the first step. You should now see that the dough has risen a little bit. Don't expect much, but a little airiness is to be expected.
Once again, let the dough rest for two hours.
Third stretch-and-fold:
Once again, repeat the process exactly as you did the first time. The dough will now be quite smooth, as if you've kneaded it thoroughly, and you should feel that it has risen.
Pre-shape:
Now you need to get the dough ready to put in the mould later.
Sprinkle some flour on the table and also sprinkle flour on the surface of the dough.
Turn the dough out onto the table, again with the top side down. You now have a sticky and a non-sticky side. The latter is facing downwards.
Make another 4-5 stretches and fold over so that you utilise the entire sticky side to hold it all together.
Turn the dough over and gather it up a little, almost as if you were "tucking" it by stretching the sides under it.
Cover with a cloth and let it rest for an hour.

Shaping the bread:
Prepare your mould by sprinkling the inside with rye flour or rice flour. The mould can be a basket designed for this purpose, but it can be any suitable sized container that you line with a tea towel. The mould doesn't go in the oven, so the material is not important. By the way, my basket measures 26 x 13 x 9 cm - just to give you an idea of the size.
Sprinkle a little flour on the table where your dough will be when it is turned over.
With a scraper, flip the dough so that the side that was up is now down. The surface is sticky.
The dough is now quite airy. Take hold of it and stretch it fairly gently into a rectangle. Pull out one side and fold it in half so that the dough is slightly narrower at the top than at the bottom. Leave a bit of sticky dough visible at the top and bottom. Do the same from the other side.
Now grab the top and fold the small sticky top over the dough. Continue this movement so that you roll up the dough and finally close it by hitting the small sticky piece at the bottom.
Place the dough in the mould with the joint facing up. Place it in the fridge until the next day. It does not need to be covered. You can also choose to leave the dough on the counter for 1 hour before putting it in the fridge. Then it will rise a little.


Day 3:
Baking:
Preheat the oven to 250°. If you have a baking stone or a Dutch oven (cast iron roasting pan), make sure everything is heated through. Place an ovenproof dish in the bottom of the oven (unless you're using a Dutch oven) - it's helpful to have some granite chips or lava stones (from a gas grill) in the roasting tray, but it's not strictly necessary. At least ½ hour heating time, preferably. 3 quarters of an hour.

Bring ½ litre of water to the boil.
You need to transport the bread to the hot oven, so you need something to transport it on. I use something simple: a flat baking tray and a piece of baking paper. I use the corners of the baking paper to move the bread the last little bit onto the baking stone.
Remove the bread from the fridge and carefully turn it out of the tin. I hold a hand underneath to control the bread, which I then place on the baking paper. Score the bread lengthways with a very sharp knife (I use a razor blade). The knife should be at a 45° angle to the surface of the bread and the cut should be slightly off-centre.
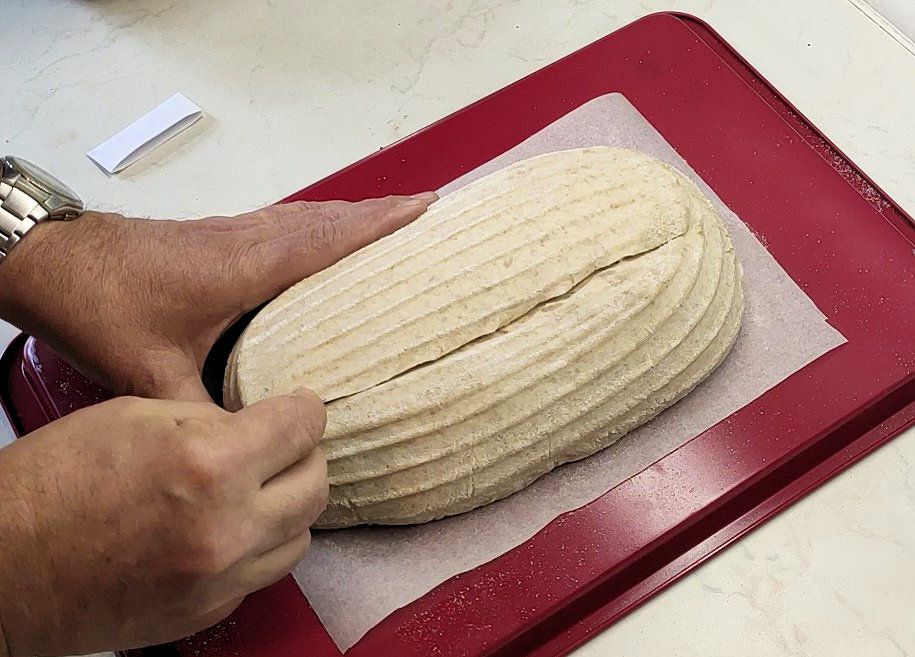
Transfer the bread to your hot baking tray or baking stone, or to your roasting pan (which you then put a lid on). If you use a baking stone or baking tray, pour the boiling water into the ovenproof dish at the bottom of the oven. Steam is very important in this phase.
After 15 minutes: remove the water from the bottom of the oven or take the lid off the roasting tin. Turn down to 210° and bake the bread for 25 minutes.
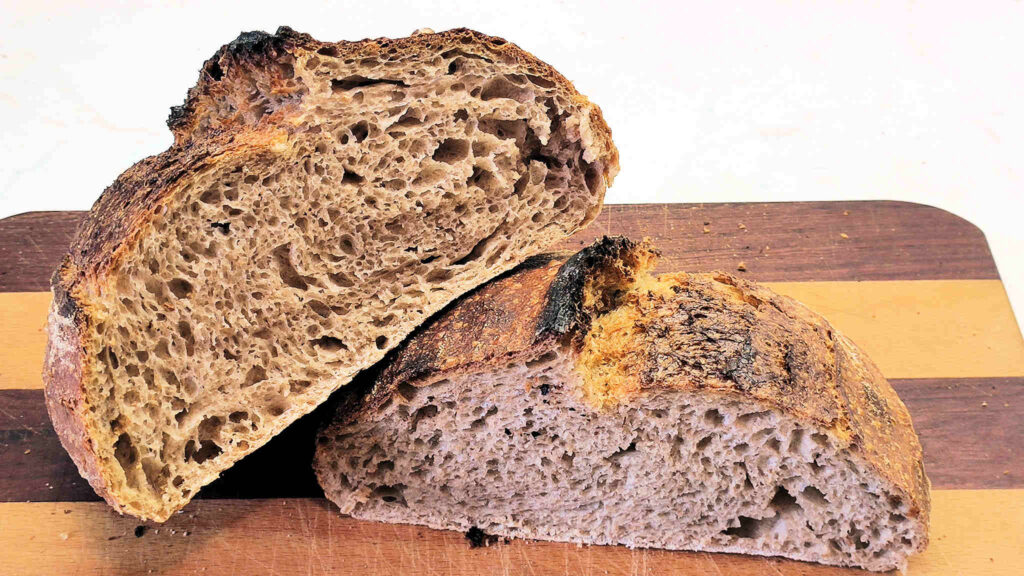
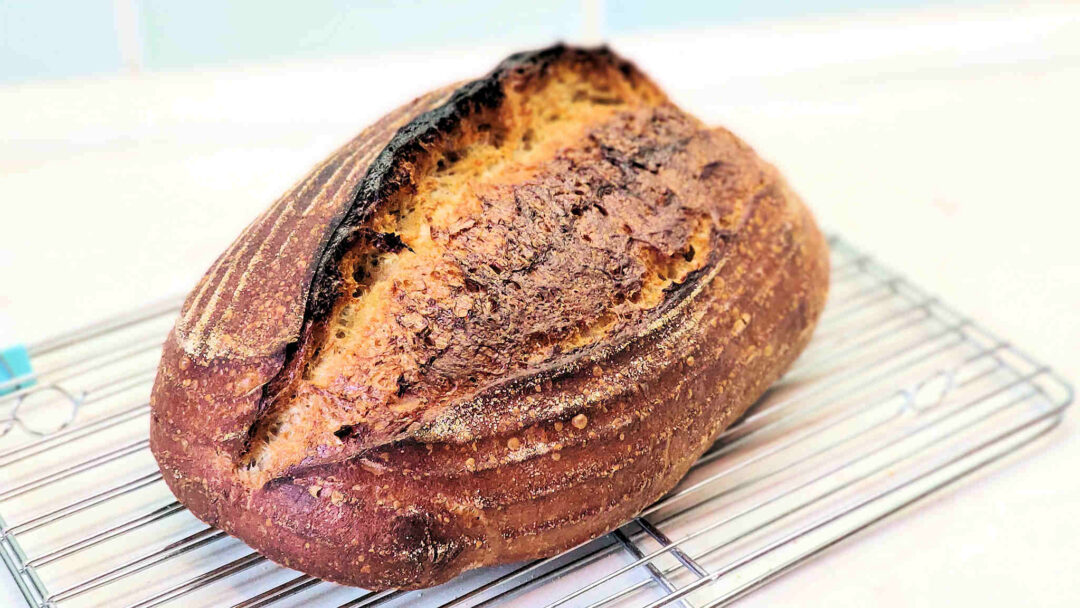
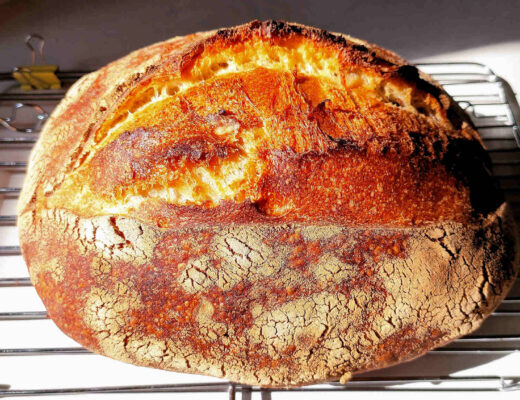
Leave the bread to cool on a wire rack for a couple of hours before slicing. If you can wait.
Enjoy!


2 Comments
[...] required amount of water and flour the night before he/she wants to bake his/her bread.Watch my instructions on Sour Bread from start to finish here Watch my YouTube video on Bread with [...]
Thank you so much for a great video and recipe 👍. Now I think I can get started with sourdough bread Excited 😀. Thanks again. 🥳